Showing posts with label sewing. Show all posts

Tuesday, December 9, 2014

Moments of Motherhood: Sewing with Ellie


I usually sew when my kids are sleeping because... well... for obvious reasons. Today, however, I was still working on the kids' stockings when Ellie woke up from her nap. Usually I would have finished up and put things away, but today she pulled up a chair and asked me if I could keep sewing so she could watch. I of course gave her the "don't touch" spiel, and I kept sewing. She asked me questions, and I answered, and we both enjoyed ourselves. We got into a rhythm of her handing me pins when I needed them and then she would put them back into the pin cushion when I was through with them. She warned me to "be careful so you don't hurt your fingers," and I talked to her about each step, explaining in 3-year-old terms why I was doing what. She was quite proud of the fact that she was my "special helper." After about 20 minutes she said "Mom, we're having girl time. I love staying up late (staying up late is the best privilege EVER for her right now) and having girl time with you. Nathan's not awake, Jonah's not awake, just us. And you're teaching me how to sew for when I'm a big girl and I can do it all by myself."

For the next hour she and I sat together sewing and pinning, with her telling me several times how much she loved sewing with me and reminding me over and over again that I would teach her how to do it by herself when she was big.

I am so grateful for times like this afternoon when I get to just listen to my little girl tell me what's on her mind, and her and I get to bond and share in something that we enjoy. It reminds me that I could do better to slow down and revel in these sweet moments of motherhood, because my little princess is growing up right before my eyes.


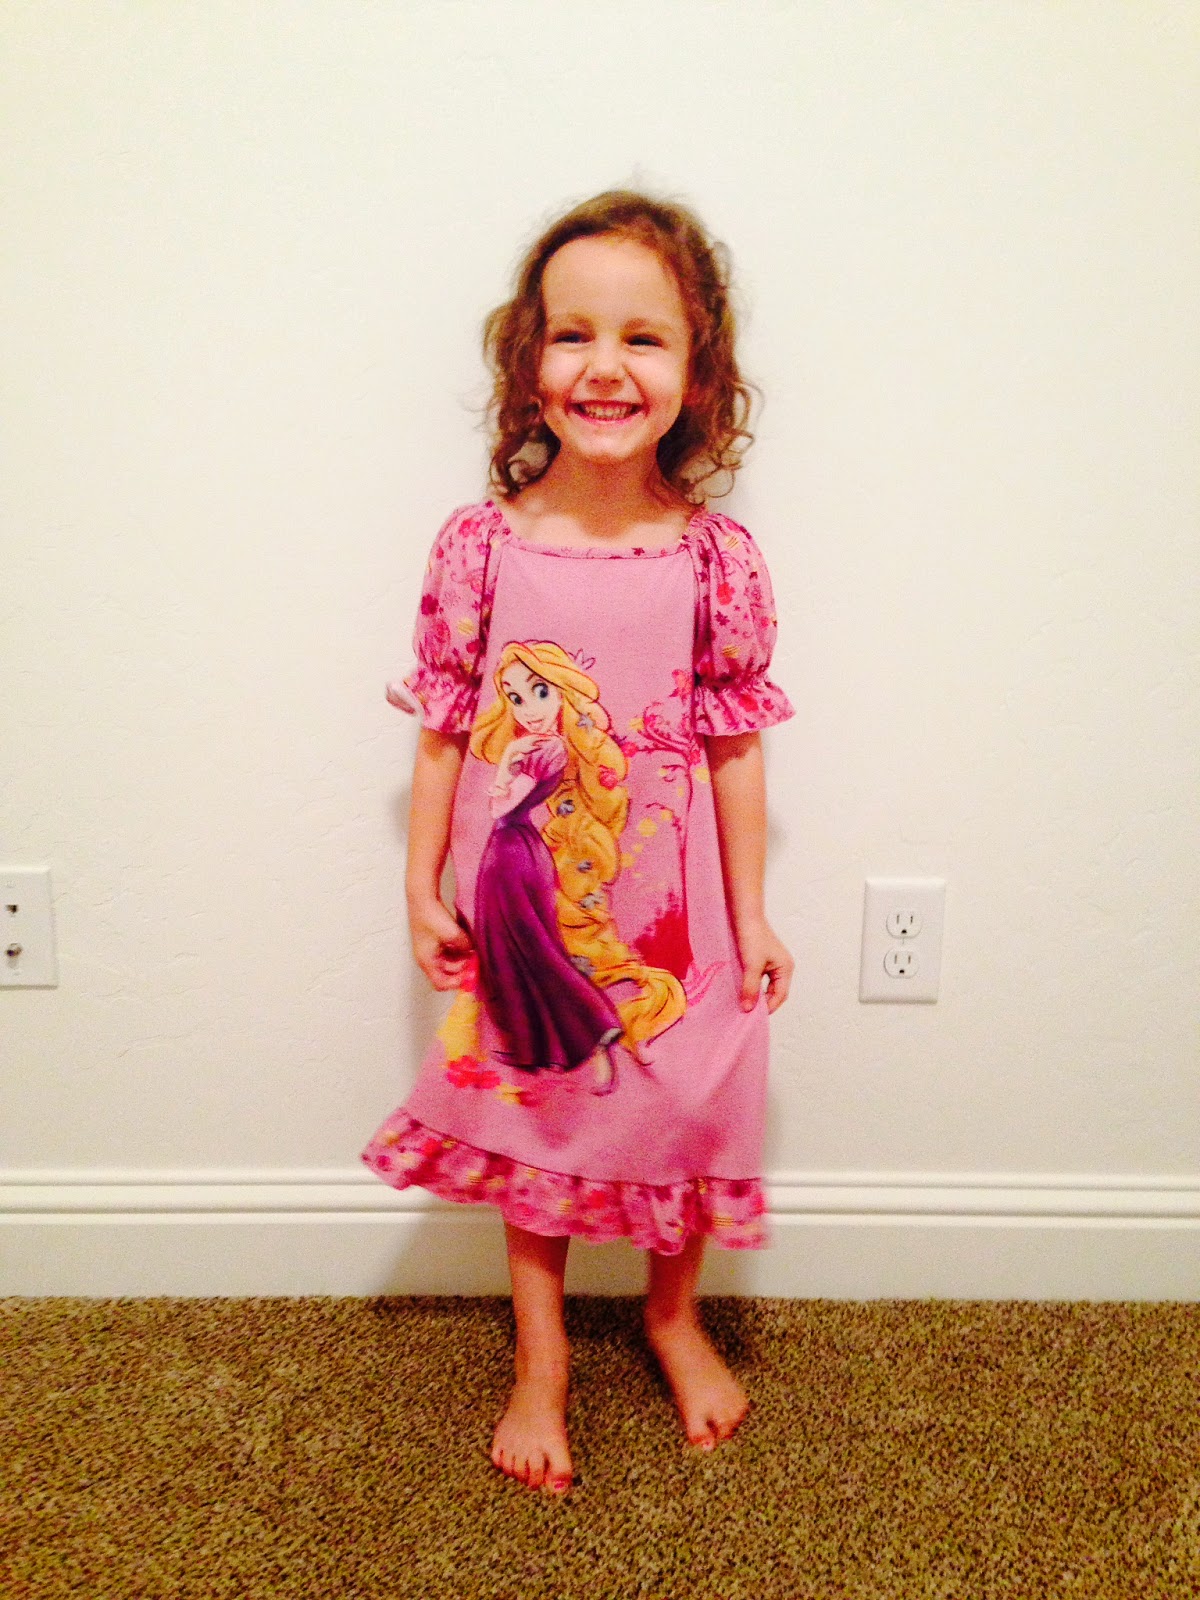
(The neighbors brought by some hand-me-downs yesterday, and Ellie could not be more thrilled with her new Rapunzel nightgown. It was quite the task to get her to take it off this morning so she could get dressed.)

Wednesday, July 3, 2013

Easy Messenger Bags

     I am a Beehive leader in our ward, (to learn more about the Young Women organization in our church, click here. Beehives are the girls that are 12-13 years old) and Girl's Camp is coming up. The girls that haven't been to camp before needed bags for their camp scriptures - a paperback copy of the Book of Mormon - and I volunteered to make 8 of them. You know, since I'm such an... *ahem* ... amazing seamstress. Anyway, I volunteered to make them.

     I put this up here because I'm bound to lose the instructions I was given, and I'm sure I will want to make another bag like this one day. They are really easy! And they don't take very long (well, if you are only making one...) They are the perfect size to put books in, but they are also a great "purse" size.

     I want to clarify that I did not come up with this pattern. I'm not sure exactly who did, but it was given to me. I also want to clarify that I'm not very good at explaining things, so I apologize!


This is what the finished bag should look like. Please excuse my dark/blurry/overall very terrible photography throughout the post. It may be bad, but it gets the job done! 


Start by cutting out the fabric. The fabric that I was given was strong upholstery-like fabric, which I thought was great, but I'm sure you could use whatever kind you like. Cut a 27in x 10in rectangle, then cut triangles into the rectangle that measure about 2.5in into the fabric by 4 inches tall, like the picture above (Yes, the pattern is crinkled. My 7-month-old got ahold of it. Whoops!). The top of the triangle should start around 2 inches below the top of the fabric. For the strap, cut a rectangle 3 inches wide by 45-54 inches long, depending on how long you want it to be.


Next, iron down about 1/4-inch on both sides of the strap, then fold it in half, (hot dog style... like from elementary school. :) ) and press it.


It should look like this. Then run a seam down the whole strap, over the 1/4-inch folds.


Then iron down the top and bottom 1/4 inch of the bag part of the fabric, making sure to fold wrong side to wrong side. Sew along both of those.


After those are sewn down, fold and pin the flap part of the bag (right side to right side) like in the picture above. Bring the bottom of the fabric up to meet it, and pin.


It should look like this. Sew around the sides of the flap, leaving a 1/4-inch seam allowance. (BE CAREFUL NOT TO SEW AROUND THE BOTTOM OF THE FLAP YET! You still have to turn it right side out.) Then sew down each side of the body of the bag. Make sure to backstitch a few times on the top because that will be the opening of the bag.


After you have done that, sew a little triangle (about an inch from the seam to the point) into each of the bottom corners of the bag. Make sure you backstitch here too.


Here is another picture of that step.


Cut the corners off, leaving about 1/4-inch seam allowance.


Then turn the bag right side out. This is what the corners should look like on the outside.


Then turn the flap right side out. Use your finger or the end of a pen to poke the corners out. Sew around all of the edges, including the bottom this time.


What that should look like from the back.


Now it's time to attach the strap. Fold each end of the strap about 1/2-inch, and pin about 1/2 to 3/4-inch below the seam on the flap. Then sew back and forth a million times over the straps, and you're good to go!

You can also attach velcro or a snap to the flap and body of the bag to keep it closed, but I didn't. I think the flap is heavy enough to stay down without it.


Here are the finished bags.

     There are certain aspects of this project that we won't mention. Like how neglected my children were while I worked on it, the state of my craft room when I finished, or how much cereal was spilled by a certain 2-year-old who was trying to help. 


Ellie dumped some Golden Puffs into the playpen, because apparently Nathan needed a snack. This picture is blurry, but he was quite happy about it! They are much yummier than Cheerios, you know.


Notice the cereal stuck in her hair and the lack of pants? Hey, at least she was wearing underwear. Yeah, it was one of those days.

    If you cute little Beehives ever question whether or not somebody loves you, just remember that Sister Brubaker spent an entire day neglecting her children to make scripture bags for you. And she's not sorry.

Love,

Friday, June 28, 2013

A Little Craft for a Little Boy

     Sam got me a sewing machine for my birthday last year, and I haven't used it a ton yet... But last week I just got an itch to sew! I looked around to see what fabric I had: some denim scraps from making shorts for myself a little while ago, and some flannel from a baby blanket I made for a friend. So my thought process went something like this: 

     Ok, great. A bunch of small scraps of fabric. What can I make with that? Oh! I know! Beanbags! They are going to be so cute, just like the ones my aunt made for my sister with each letter of her name on a beanbag! (Never mind that her name is "Eve," not "Nathaniel." That's a lot of beanbags, people.)

     It was another one of those situations where I had a grand idea in my head, but the finished product wasn't quite as amazing as I had hoped. Let's just say there is a reason the pictures are taken from far away! :)

     First I cut out letters, then zig-zag stitched the letters onto the denim, and stitched three of the sides together and left the top open. I decided that these beanbags needed to be water proof (or at least slobber proof) and made beanbags out of plastic sandwich bags that were just a little smaller than the fabric beanbags. Does that make sense? I should have taken pictures. Hmmm... Too late now. :)

    Anyway, I put those plastic beanbags inside the fabric ones, and stitched the tops closed. And now we have 10 beanbags floating around our house, usually seen being thrown through the air or sucked on.


I'm telling you, there really is a reason the picture is taken from far away. It's not an easy task to cut out and sew all those letters. Especially the "A's". Whew. But they're done! Yay!


A close-up of the front.


And the back. I love that animal fabric, I think it's adorable.

     When these were finished I set them out on the ground for Ellie and Nathan to play with, and Ellie started telling me what letters were on them. She's a smart little cookie! I'm glad they like them. I'm also glad that I could use what I had around the house to indulge my need to sew!

     And of course I'm going to have to include a few pictures of Mr. Man. Because he's cute, that's why.


This picture cracks me up. We were heading out the door, and I had to run and grab something out of our bedroom. I came back, and this is what I saw. Apparently little brothers make great canvases.


 Swimming in the backyard yesterday. He LOVED the water. I thought it would be too cold for him, but no way! He probably would have stayed in all day if I would have let him!

Speaking of Nathan, I can hear him waking up. Adios!

Love,
 
Images by Freepik